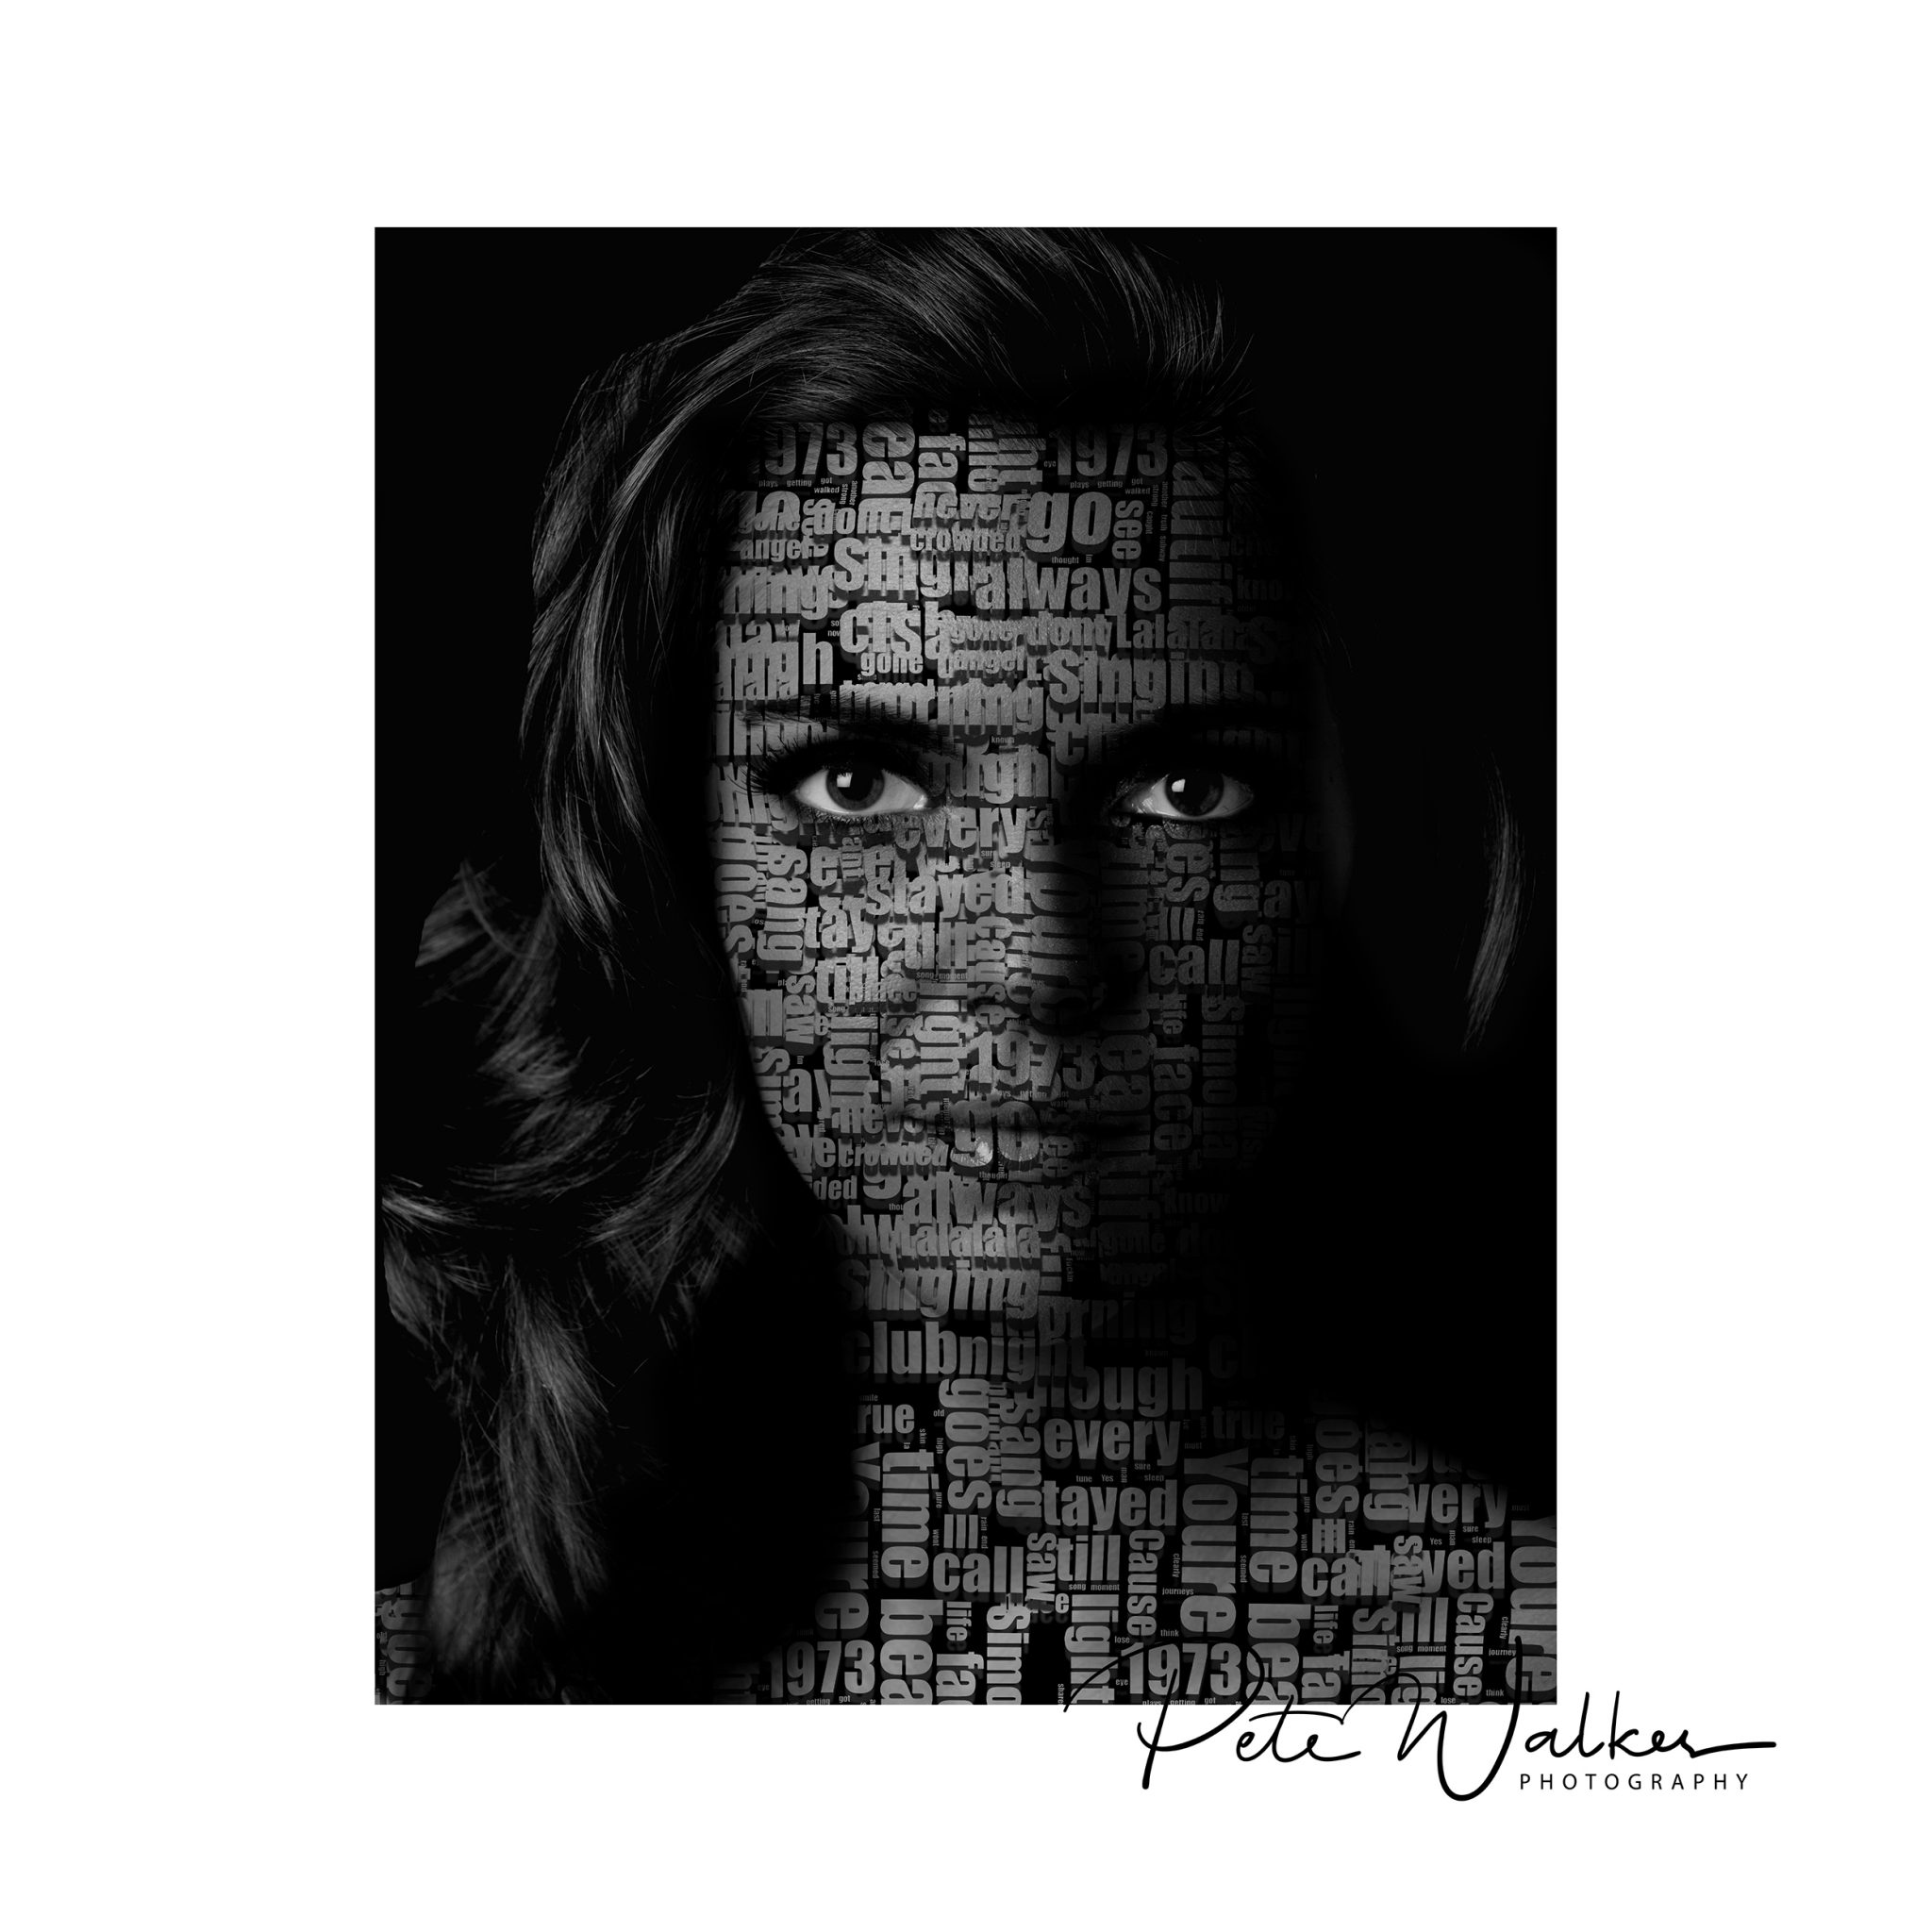
I came across the Youtube tutorial below, which uses the Photoshop displacement map to create an interesting portrait using a word cloud. As we are a stuck at home I decided to revisit an older image and try to follow the tutorial to see what results I would get and put together this blog of clip notes to help you if you wish to try the same project.
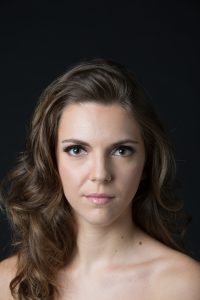
After viewing the tutorial a couple of times I chose the image left from my back catalogue to work on.
The tutorial is quite easy follow, but be prepared to pause as you do the required actions, there’s no way you keep up and also listen carefully, so instructions can be lost with his accent and also if you are a Mac User, as I am, note he is working on Windows based PC therefore ctrl and cmd are confused some times.
What is a Displacement Map?
Displacement map is used to allow the text to conform to the model face, f you just paste on without using a displacement map it will just sit in a flat plane. The use of photoshops displacement map feature will allow it appear as you appled the lettering as makeup at the time of the shoot.
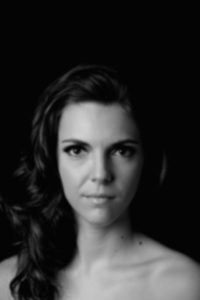
Left is the the custom displacement map created for this process, it is blurred black and white image which Photoshop uses to map the contours within the image, in this case the models facial features.
Tip: In the tutorial it not clear that this image meed to separate from the image you’ll be working on. Once you have “saved as placement map” immediately save as again creating a working copy. I used PSD files.
The are many tools on the interest to create your word cloud is used the one in the tutorial linked here.
Tip: you will need a fairly lengthly passage to get a good sized passage. I used the lyrics from 2 well know songs.
Answers on a postcard if you cane guess what they are.
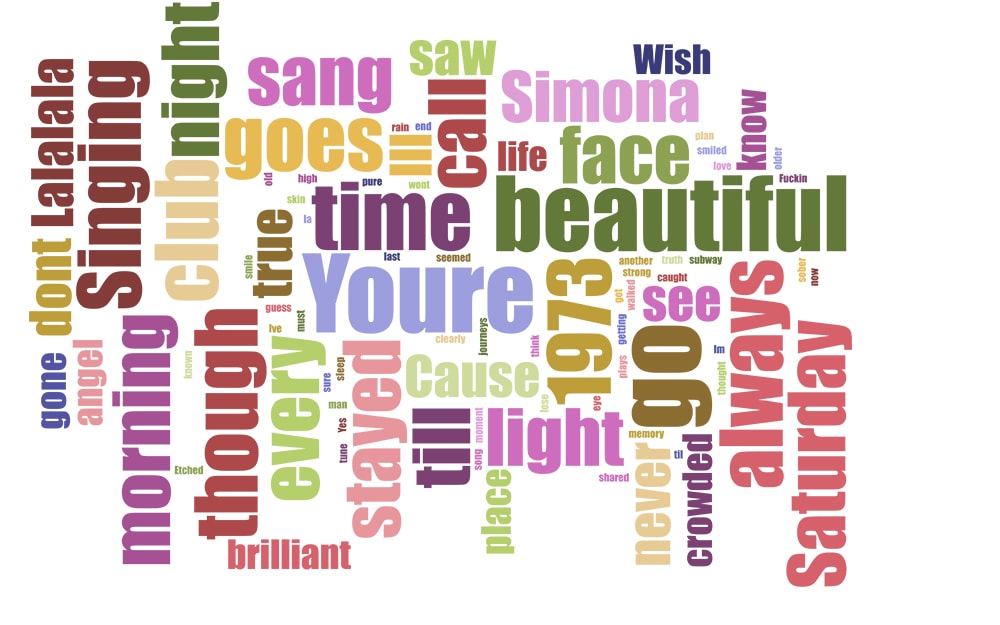
Take your time to copy and paste the world cloud over the image, resize and rotate from time to time, this avoids it looking too repetitive and follow the tutorial in overlapping the individual clouds.
This a shot of my final stage in photoshop.
You will see I have created a mask over the finished image to reveal the models eyes and to mask it from her hair.
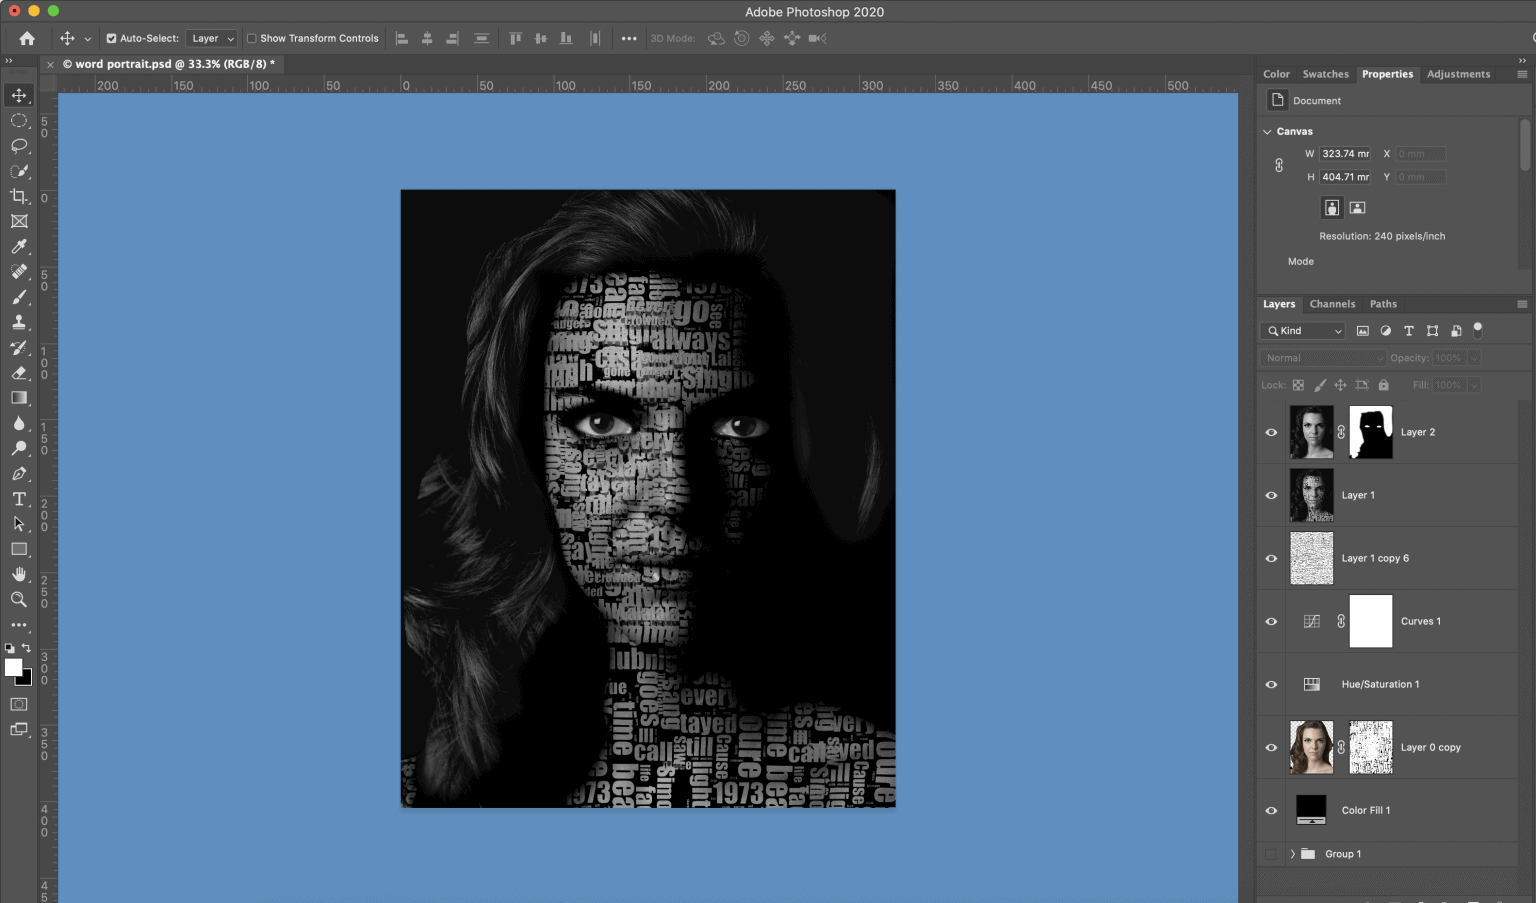
Tip: As per the tutorial, play with differing blend modes, I used linear light to create a high contrast look.
Tip: Play with the opacity of the world cloud layer – I found backing off the opacity slightly, allowed the models face contours to come through more giving a more natural look.
Please feel free to let me know your thoughts and how you find my clip notes on the tutorial.
I’ll certainly play with the concept again and hopefully will do my own tutorial in due course.

